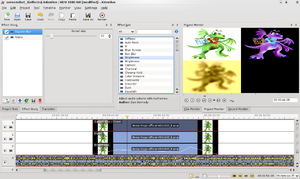
Adding WaterMarks to Videos in KdenLive
Kdenlive is a wonderful opensource program for video editing that I have off late become a huge fan of. The software is little tough to initially understand but once you get used to it, its very easy to make pleasing videos on it.
One of the recent problems I faced in Kdenlive was to add a watermark to a video I had created. One of the ways to create a watermark on a kdenlive project is as follows:
- Create the base project and save your project
- Now create a new project with same project settings – fps, resolution etc.
- Select «Add Clip» and select the first project you created
- Now create a title slide with the information that you will use to watermark.
- Now using the Composite transition place the title slide over the first project. You can use the opacity control to control the transperacy of your water mark
- Render you video.

